This was an earthworks project in the back woods of Waldo county. The design process for this project started with a concept sketch for the client whose goal is to develop this piece of land into an agroforestry farm with a focus on chestnuts. The design challenge in this case was the topography and the process of transitioning the species composition of an existing forest. We got called to consult on the project after the logging operation had been done.
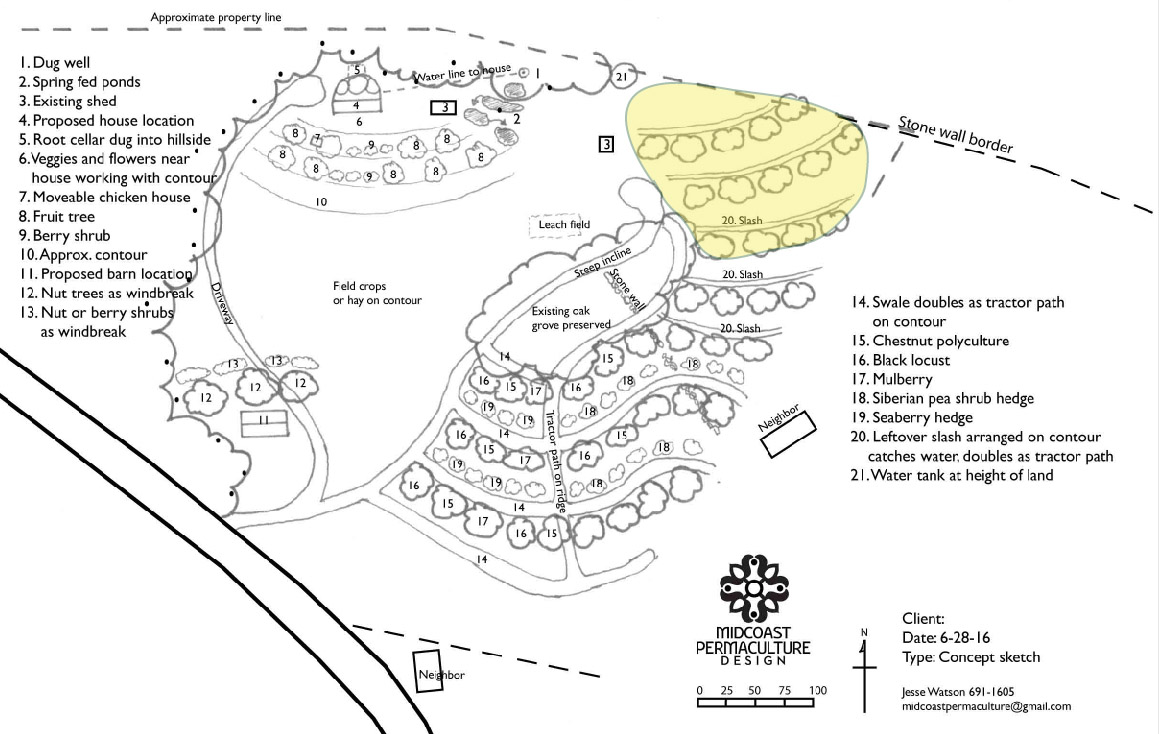 The consult led to this cursory design sketch which we then used as the starting point for construction. We began with a ridge access road to build the first few terraces at the height of land near the northern border of this parcel, highlighted in yellow. In this case the client was keen to begin construction of water conserving earthworks on this hillside as they had already purchased the chestnuts and wanted to get them planted as soon as possible. Another challenge to the project was that while the client lives nearby, it is not the current residence, but likely will be for the client’s “next act.” So establishment of this system may involve challenges of periodic neglect because there are no permanent residents living on site yet.
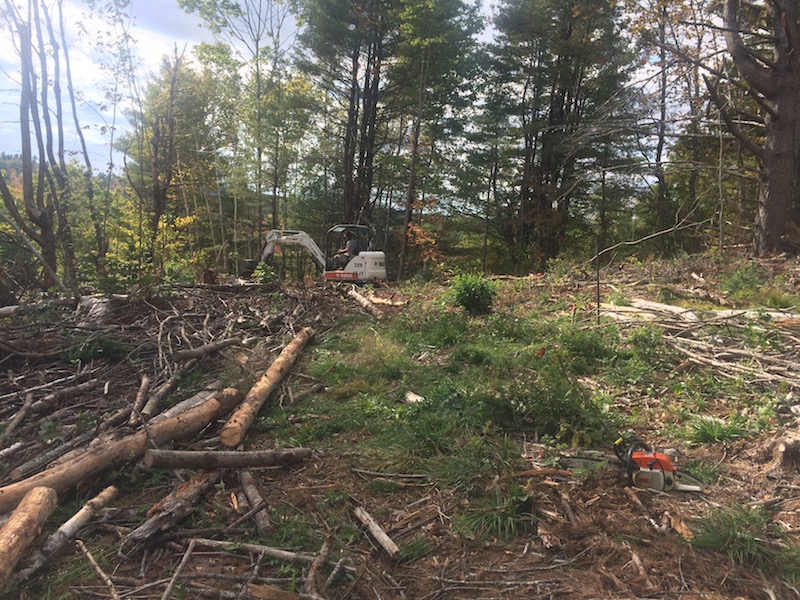
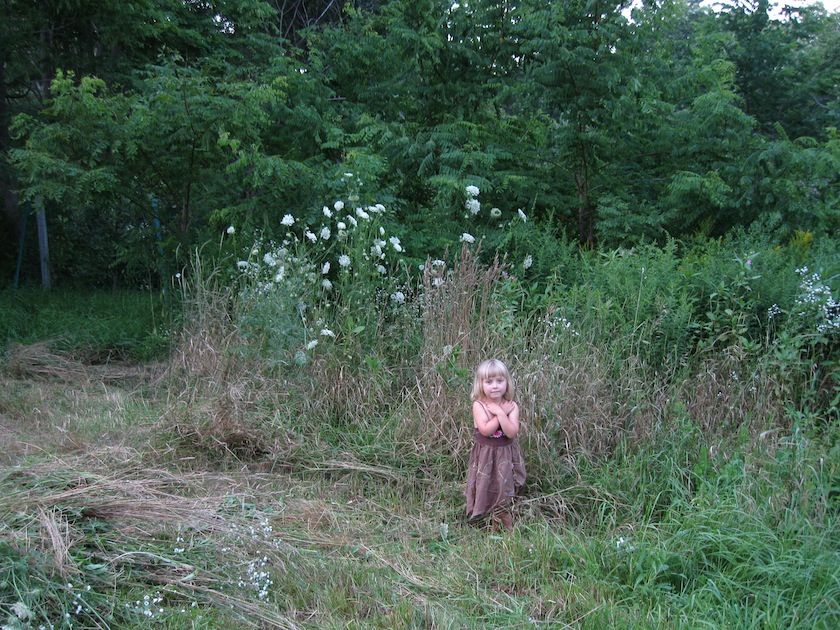
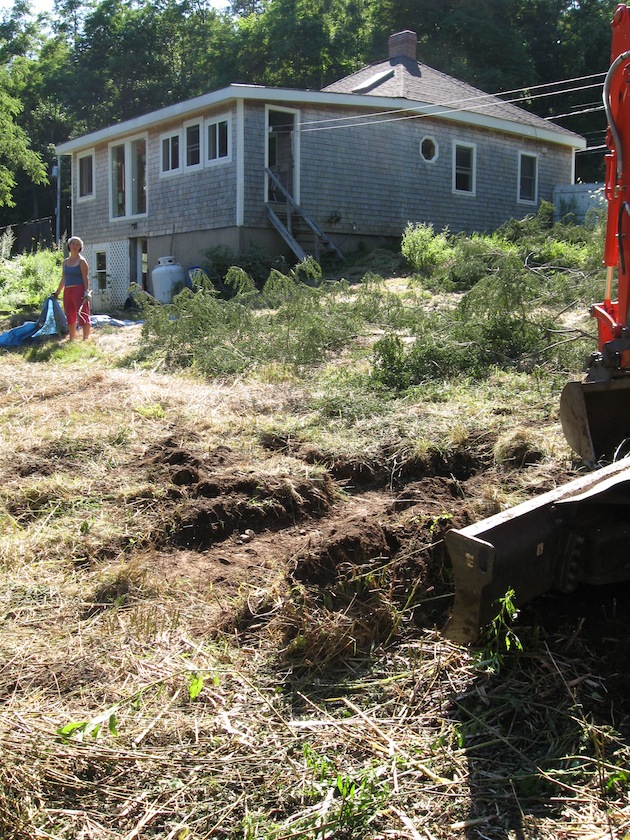
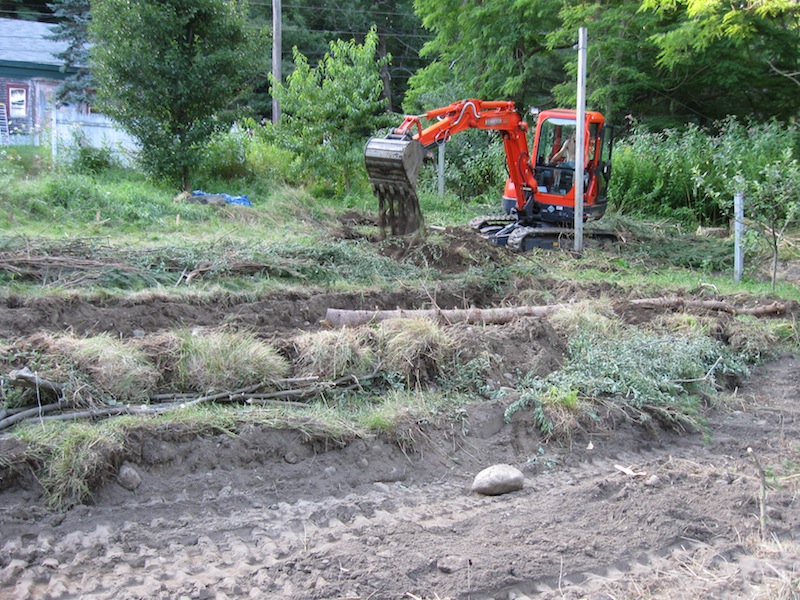
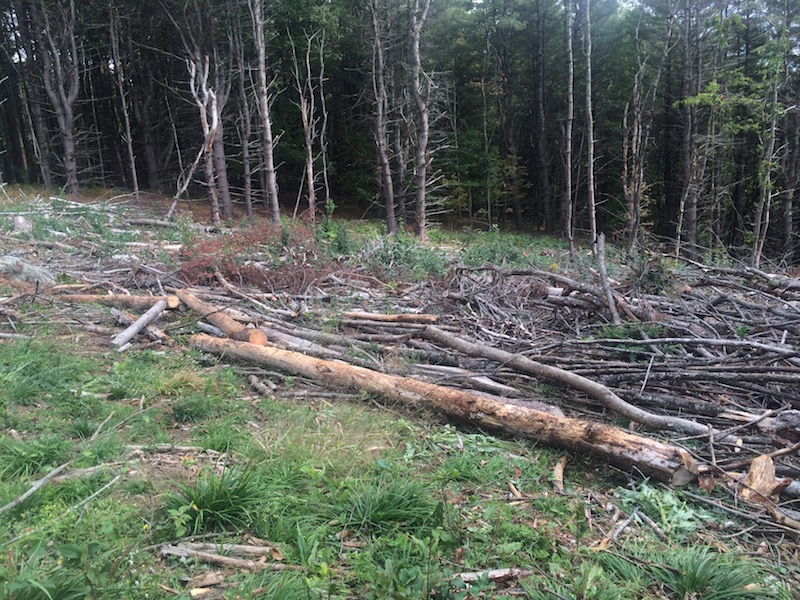 The recent logging operation left quite a bit of slash across the landscape which presented a challenge for us to work around. The slash made layout of the terraces in the landscape especially hard because we couldn’t see the surface of the ground as readily as we would have liked.
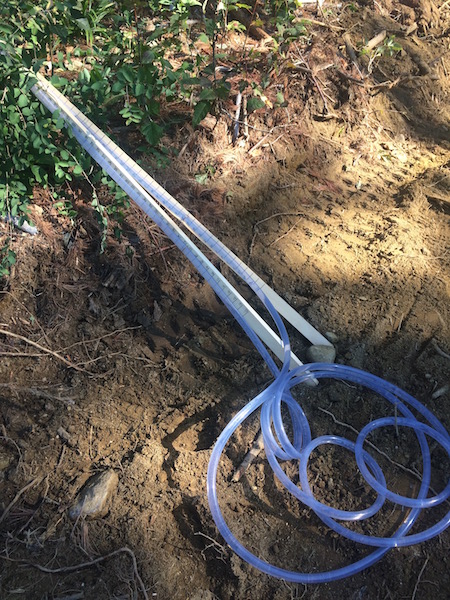 We used a water level to find our contour lines and make adjustments for BFRs, BFSs and between-row tree spacing. I’ve been assured that BFR stands for “Big Fat Rock” and that BFS stands for “Bid Fat Stump.” The spacing of the terraces was based on the mature crown diameter of chestnuts which we assumed to be about 40 feet in diameter given the forested conditions. Normally in a field or pasture setting, i would plan on a chestnut growing a canopy of 50 feet or more. The client’s stated goal was for a closed canopy chestnut grove so that meant we could space our terraces somewhat close together. The in-row spacing will also be tight to encourage a fast, upright growth habit.
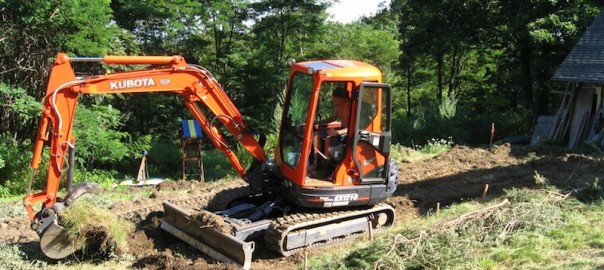
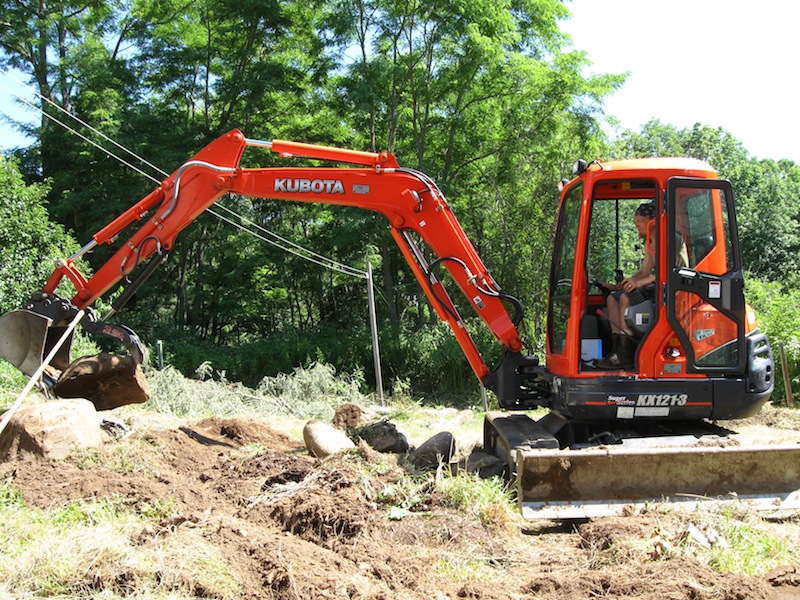
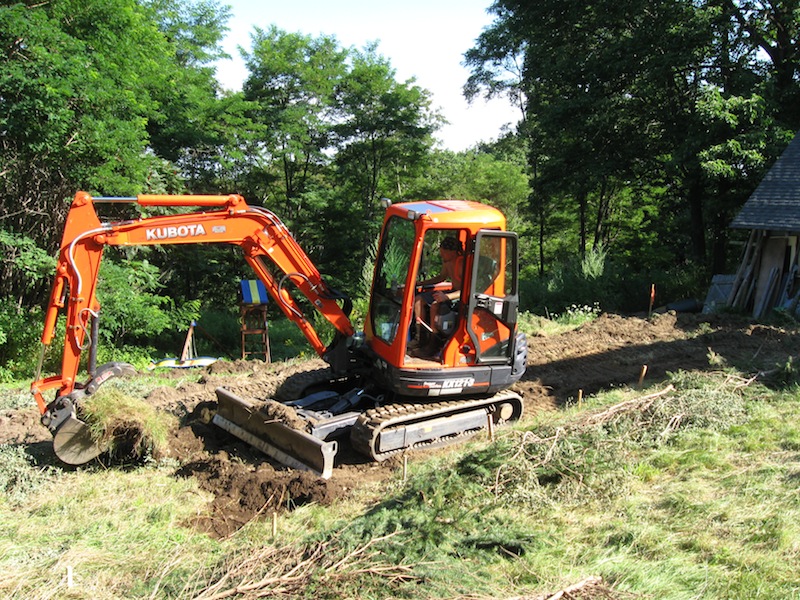
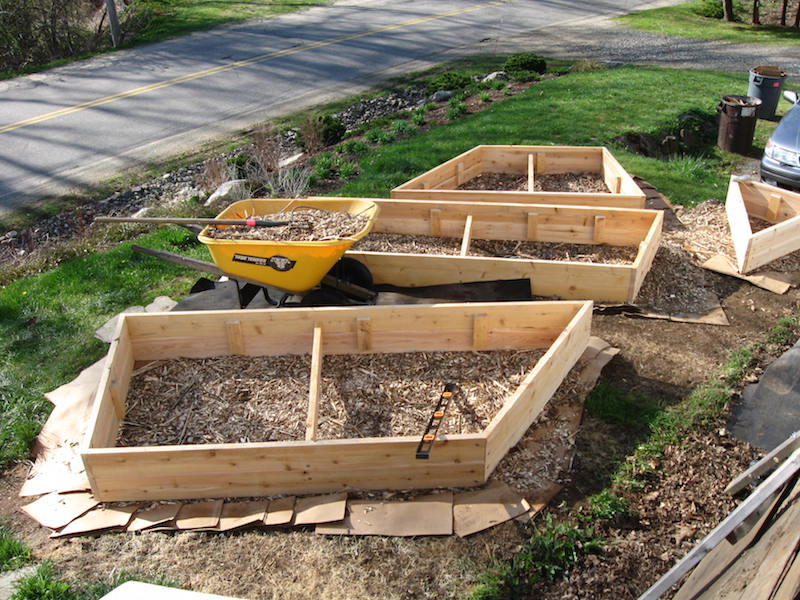
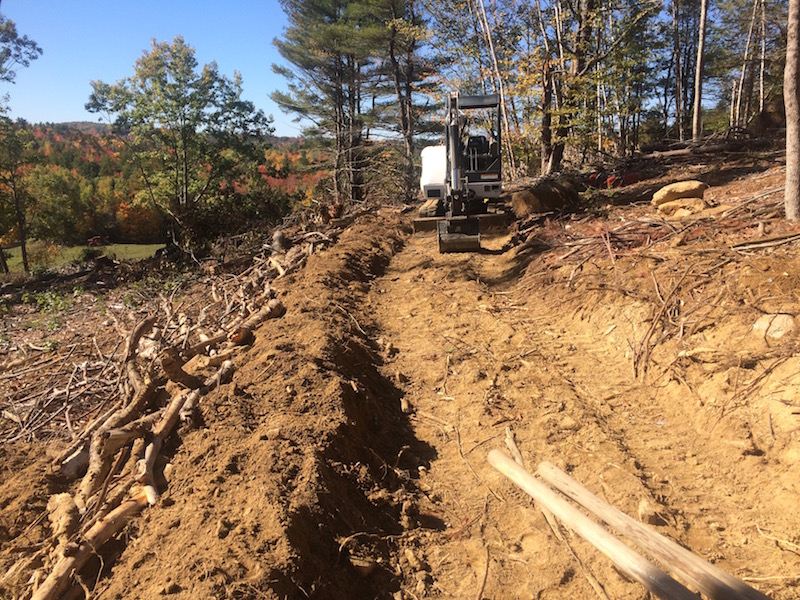
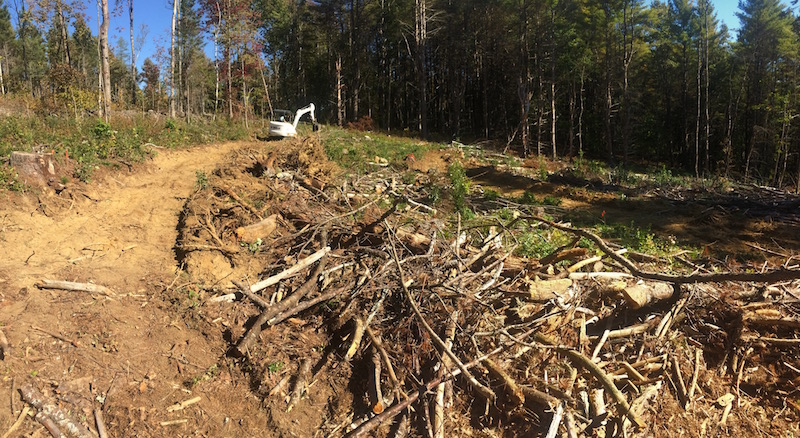 The excavator moved earth, rocks, stumps and large logs while the hand crew arranged slash on contour and constructed our hugel berms. The terrace itself will serve as vehicle access, pasture and grazing lanes. The chestnut trees themselves will be planted on or below the hugel berms, functioning as tree planting beds.
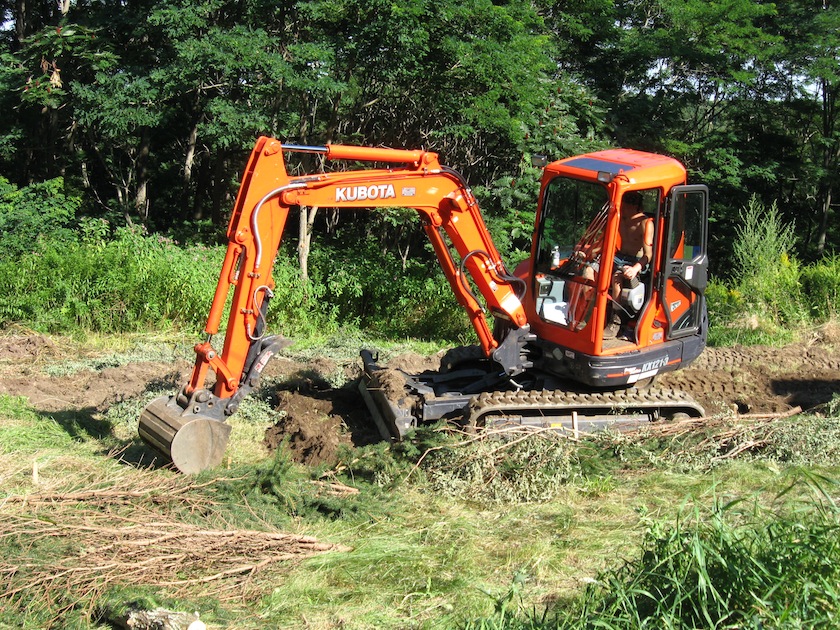
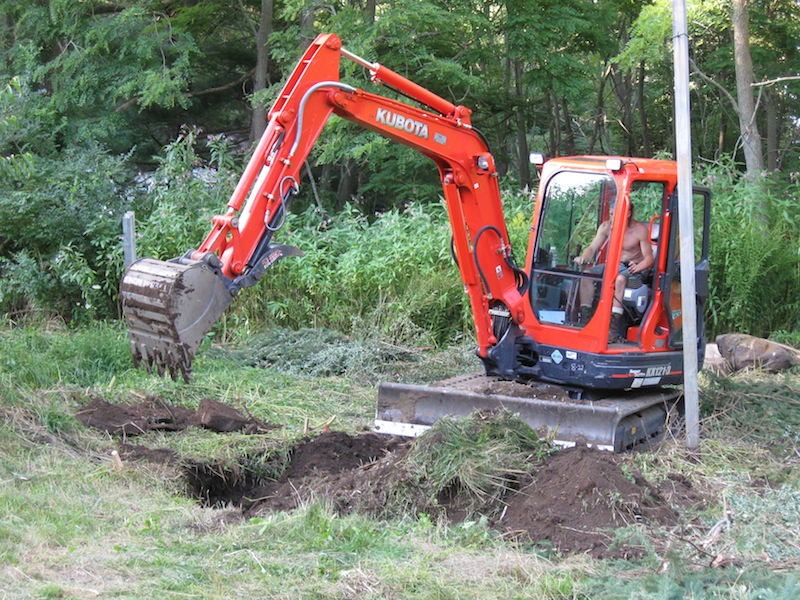
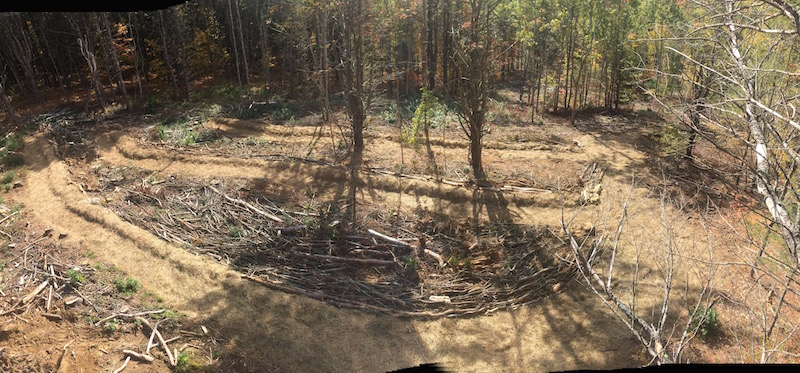
 For this landscape we laid out the terraces from the middle and worked our way outward toward the ridges. Since we are working with contour, you can see that the middle of the terraces are the closest points together and then flare out toward the ridge. Since the middle is the pinch point we had to space our terraces from one another starting from this middle point. It was a balancing act: we wanted to space the terraces at least 35 feet to allow for full crown expression of the mature chestnuts, but since the excavator was on the small side for this job, we also had to avoid big stumps and great big rocks. We pulled small to medium stumps, but we wanted to avoid the larger pine stumps. The result was a between-row spacing of between 30-40 feet. It was the best compromise given all the other obstacles in the landscape we were designing around.
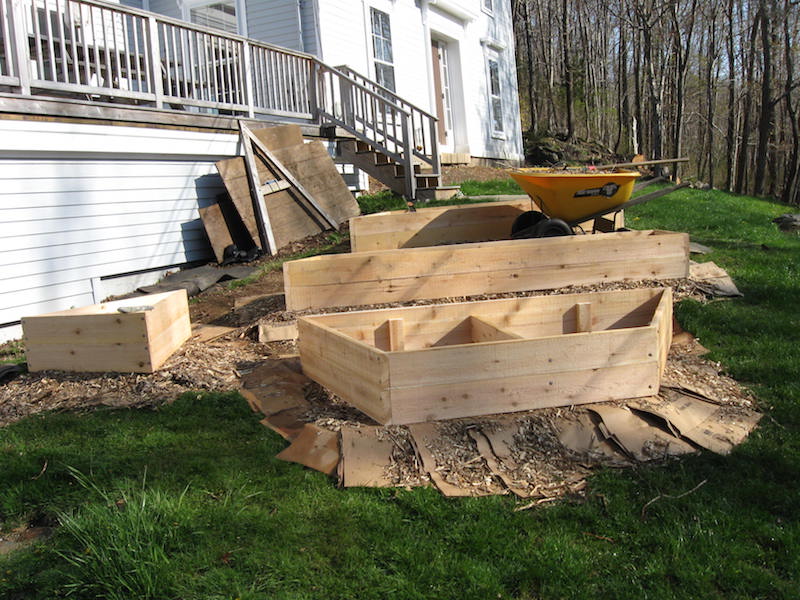
 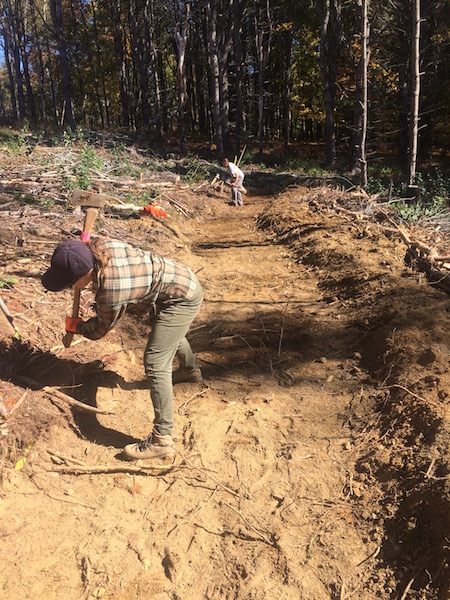 We did a final grading of these terraces by hand, and so we needed to remove any prominent debris. Once the grading and construction of the downhill berm was complete we mulched the beds heavily with old round bales of hay we got from the dairy farm down the road. The seeds present in the hay will introduce pasture species of grasses and forbs into the forest soil seedbank. We also recommended sowing a pasture mix of seed or something like a deer forage seed mix.
 2016 was a year of drought in Maine, and while that made it easy for us to do our earthworks it also suggested another issue regarding establishment: irrigation. I had put an irrigation tank at height of land in the cursory design, but there was no plan just yet for installing it. I emphasized to the client the need for an irrigation plan given the changing and variable climate. Under normal climatic regimes you wouldn’t need supplemental irrigation to get the chestnuts established. But since we’re off the map now regarding climate, it seems critical to provide irrigation to the investment of nut trees. Fortunately, the client does have a plan now for a gravity feed irrigation tank at the top of the hill. They will use two 250 gallon IBC tanks placed at height of land to provide irrigation water. Periodically the tanks will be topped off with a sump pump placed in a nearby dug well.
In the meantime, the chestnut trees got heeled in a temporary garden bed for the winter. They will get planted out in the spring into the berms on the downslope side of the terraces. 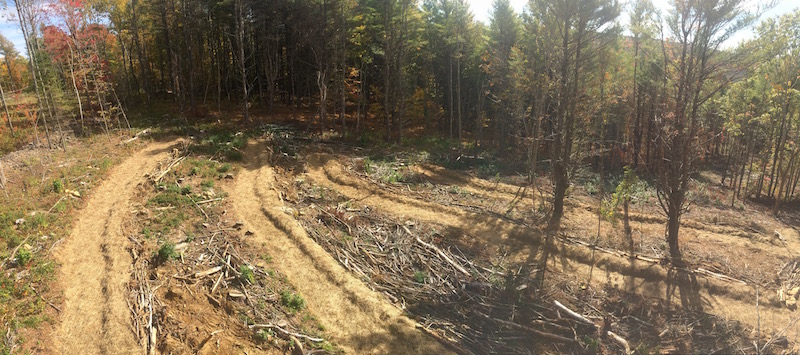 We learned that a concept sketch is good for small residential garden construction projects, however a farm is much more complicated and involves more planning between the concept, construction, establishment, maintenance and how all of that fits into the overall business plans for the farm. We were able to make this project work because no matter the business plan or the ultimate composition of trees and livestock, this hillside will need access. We were able to provide that with a ridge path leading to all the terraces we built.
The client learned that starting the design from the tree or vegetation layer can cause problems of retrofitting a landscape design around that vegetation element. We usually recommend starting with goals first, then topography, water, and access before moving on to designing the vegetation layer, in alignment with the Regrarians platform. Even though you may read on the internet that permaculture is focused on planting trees early in the establishment of a project, that only applies if your earthworks, access (roads) and irrigation plans are all sorted out first. And while all of that might be easy for a home residence situation where you already have a residential structure, electricity and plumbing; when developing a site without those assets, the phases of construction should be carefully considered with close attention to goals.
A tighter attention to goals rather than elements makes for an easier decision making process. In this case most of our decisions were focused on keeping the chestnut trees alive because they had been purchased in the spring before the logging operation had been done. The client jumped down the hierarchy of design and skipped to thinking about vegetation and trees without consideration of access, water or geography, all of which are higher in the hierarchy of design. During the drought this year, water proved to be an especially important limiting factor for this design.
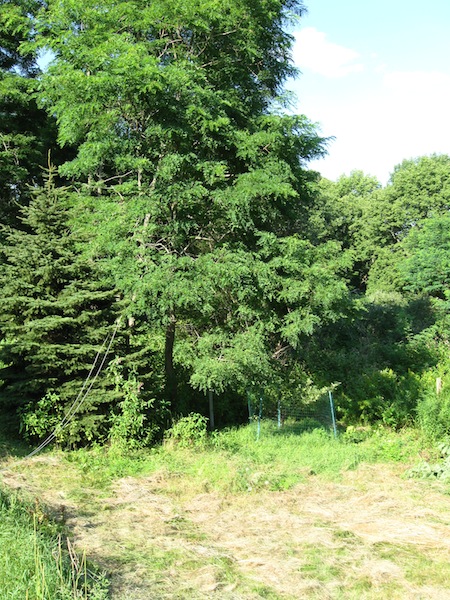
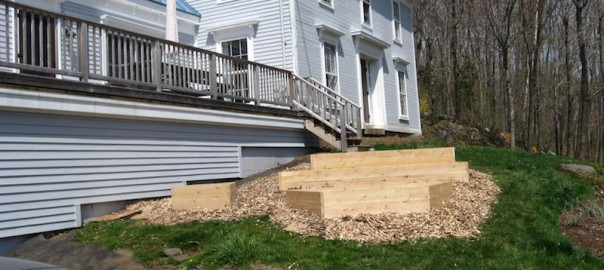
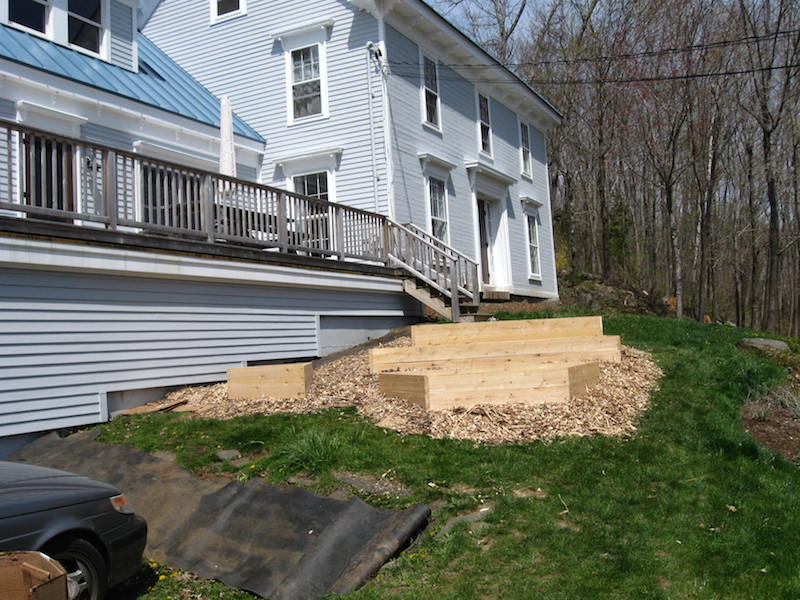
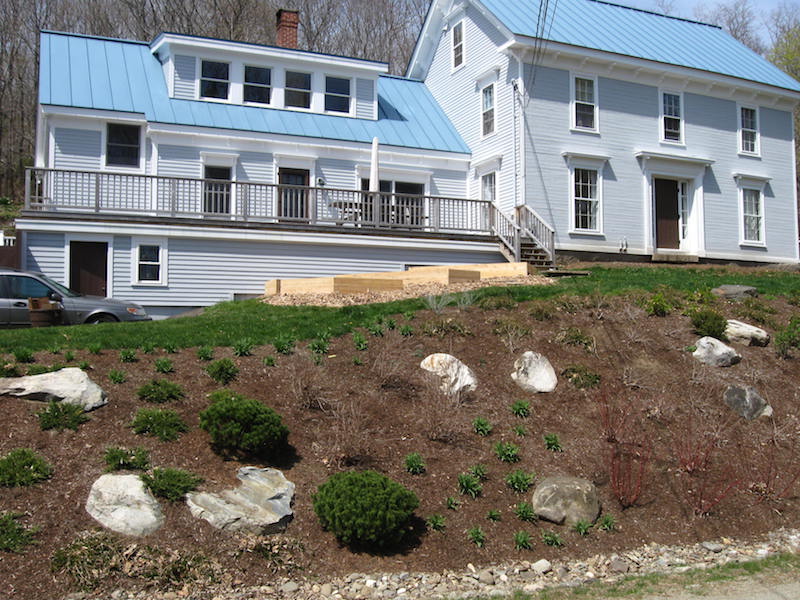
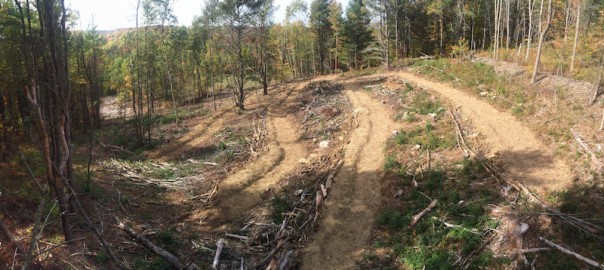
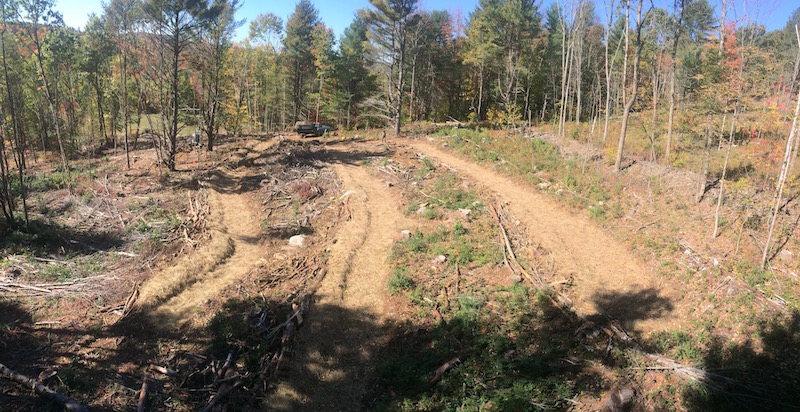
 There is some distortion in this shot because it’s a panoramic photo, but on the right you can see the ridge road that provides access to all the terraces.
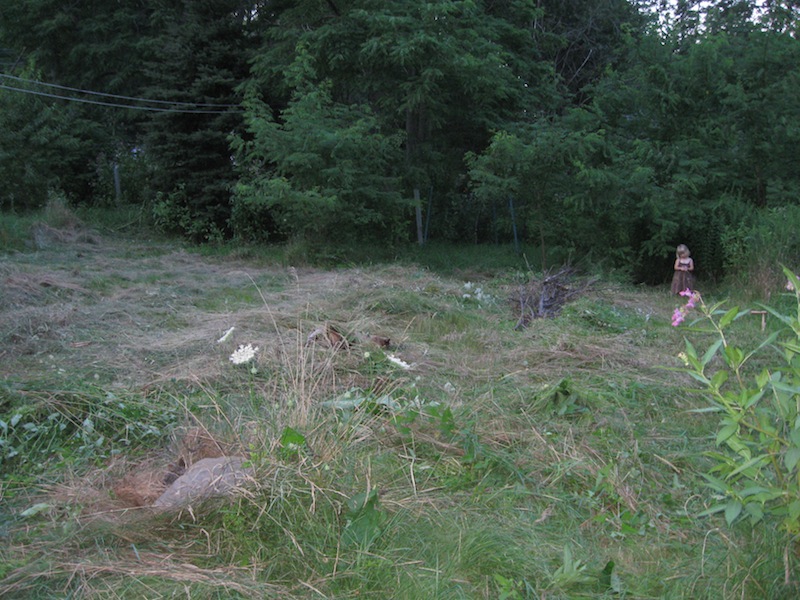
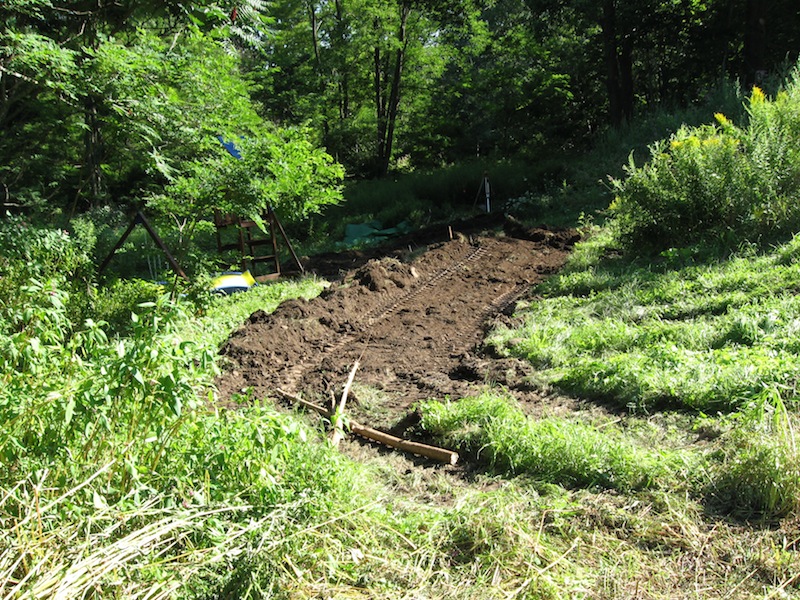
  Here are the finished terraces showing the slope we were working with and the lay of the contour lines on the hillside. The hugel berms are also visible and will provide the chestnut seedlings their planting beds. Width, size, lineal distance.